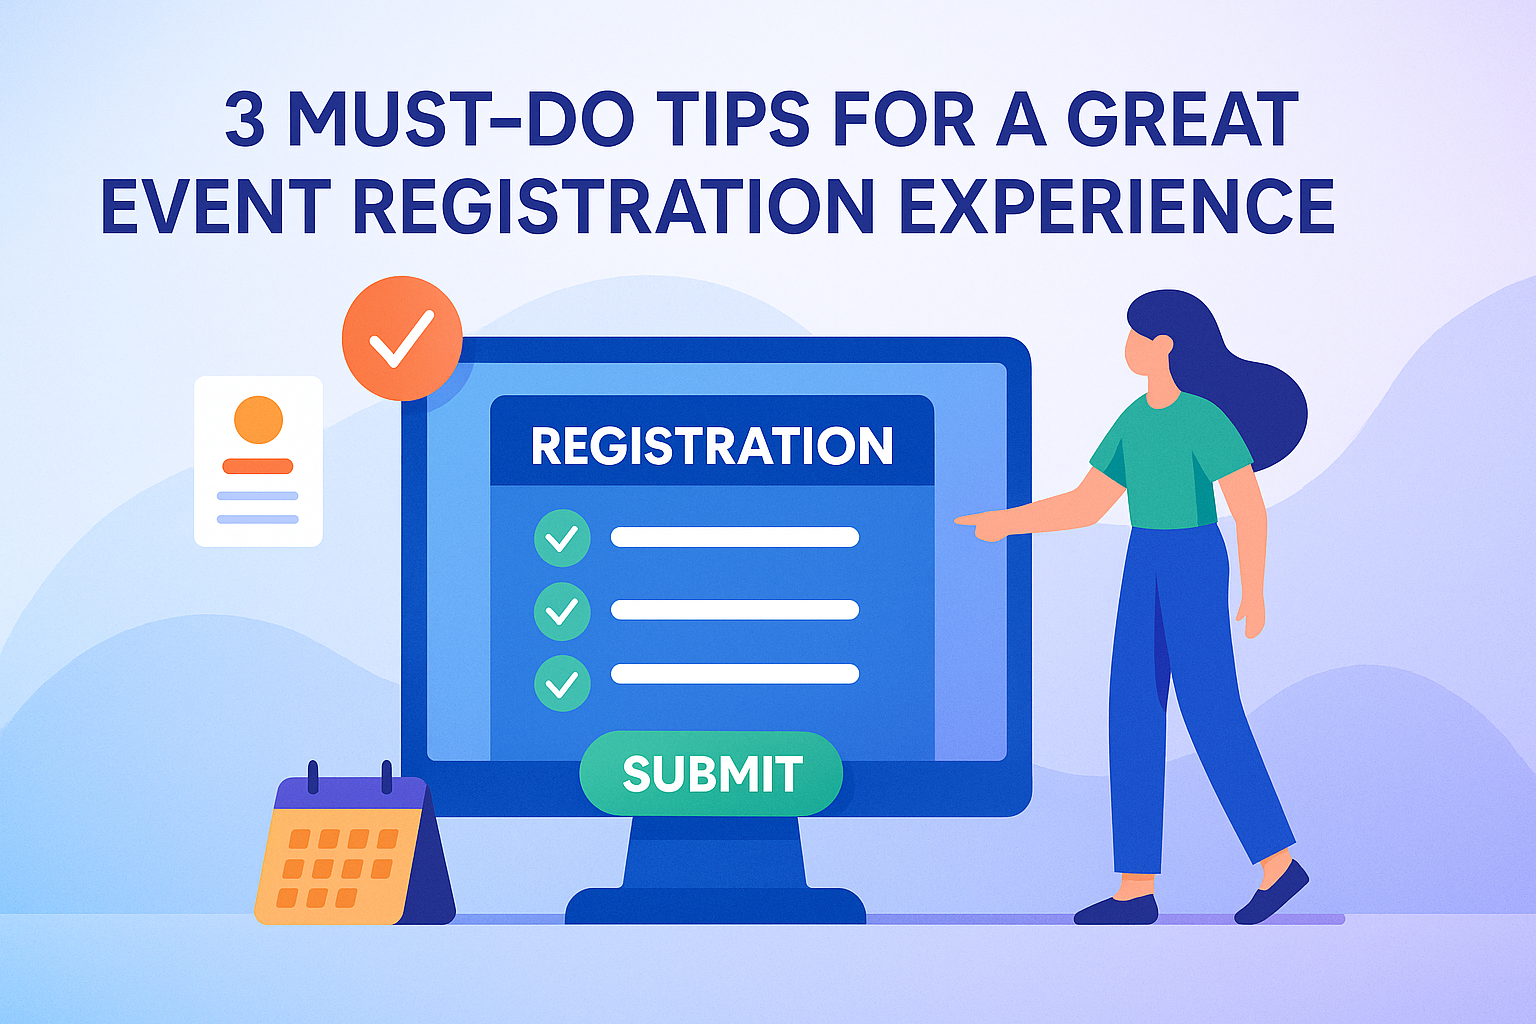
3 Must-Do Tips For Creating a Great Registration Experience

Why Your Registration Form Matters
Your registration form isn’t just paperwork, it’s the first impression guests have of your event. A clunky form can turn people away before they even arrive, while a smooth one sets the tone for a great guest experience.
A well-designed registration form communicates professionalism, builds trust, and assures guests that the rest of your event will be equally well organized. On the flip side, confusing or lengthy forms frustrate attendees, increase bounce rates, and generate unnecessary questions that eat into your planning time.
The good news is that small improvements can save you hours of back-and-forth and give attendees a welcoming, stress-free start.
Tip 1: Keep Your Registration Form Short
Every extra question you ask is like another step up a ladder and the higher the climb, the fewer people finish. Long forms are one of the biggest reasons guests abandon registration.
Actionable insight:
- Aim for fewer than 10 questions; 6 or fewer is even better.
- Review each question and ask: Do I need this to deliver a great event experience, or is it just “nice-to-have”?
- Tell participants upfront how long it will take (e.g. “This form takes less than 5 minutes to complete”).
A shorter form improves completion rates, reduces unnecessary expense tracking, and helps keep your event budgeting lean and effective.
Tip 2: Make It Easy to Complete
Even a short form can cause problems if it isn’t designed well. Easy-to-complete forms build confidence and reduce abandonment.
Here’s how to streamline the process:
- Tell guests what they’ll need. Add a quick checklist at the top (e.g. “Have your membership ID and dietary preferences ready.”).
- Minimize jargon. Avoid abbreviations or technical terms that may confuse.
- Provide examples and tips. Short helper text beneath questions eliminates guesswork.
- Limit file uploads. Every additional file request increases drop-off rates.
- Use short, clear questions. Example: “Organization Name?” is faster than a long explanation.
- Offer list selections. Dropdowns, checkboxes, or radio buttons speed up responses.
- Clearly mark required fields. Use asterisks (*) and friendly error messages to guide completion.
When your form is easy to complete, you’re not just making life easier for attendees — you’re reinforcing your broader marketing strategy by lowering barriers to sign-up.
Tip 3: Confirm Registration Status Clearly
Nothing is more frustrating for attendees than uncertainty about whether their registration went through. Clear confirmation prevents confusion, reduces support requests, and keeps your financial planning accurate.
To prevent uncertainty:
- Display a clear on-screen confirmation immediately after submission.
- If approval is required, notify guests both on submission and in the confirmation message.
- Always send a confirmation email with details and payment receipts.
- For waitlists, make it obvious that the attendee is not yet confirmed.
These steps improve trust, simplify expense tracking, and ensure your event budgeting stays aligned with actual attendance.
Bonus Tip: Always Test Before Going Live
Even the best forms need testing. Run through your registration process as if you were an attendee. Ask colleagues or volunteers to do the same and give feedback.
Actionable checklist for testing:
- Is every question necessary for event budgeting or expense tracking?
- Does the form work smoothly on both mobile and desktop?
- Do confirmation messages and emails send correctly?
- Is the payment process clear and quick?
Testing ensures your registration process supports a seamless guest experience and avoids costly surprises.
Create a Great First Impression
To recap, a great registration form should:
- Stay short and focused on essentials.
- Be simple and intuitive to complete.
- Confirm registration status clearly.
- Be tested thoroughly before launch.
By focusing on these areas, you’ll not only deliver a smoother guest experience but also strengthen your event budgeting, financial planning, and overall marketing strategy. A thoughtful registration process sets the stage for efficient operations, engaged attendees, and a more successful event.
Ready to simplify your event registration?
Start your free trial or schedule a demo today to see how ClearEvent can help you create stress-free registration forms.
Frequently Asked Questions (FAQ)
How many questions should an event registration form have?
A good rule of thumb is fewer than 10 questions, with 6 or fewer being ideal. The fewer steps you ask attendees to complete, the more likely they are to finish the registration process without abandoning it.
What information should I include on my registration form?
Stick to essentials that directly impact guest experience, financial planning, or event operations. Typical must-haves include name, email, ticket type, and payment details. Anything else should be carefully evaluated before adding.
How can I reduce abandoned registrations?
Keep your form short, make it easy to complete, and confirm registration status clearly at the end. Adding a visible progress indicator and a confirmation email also reassures attendees that their registration is complete.
Should I test my registration form before launching it?
Absolutely. Testing ensures that all fields work correctly, confirmation messages are accurate, and payments process without issues. Ask colleagues or friends to complete the form and share feedback before going live.
Testing is a key step in any event plan. For more on structuring your event workflow, see our checklist on how to plan an event.
What’s the difference between registration and ticketing?
Ticketing systems often focus on processing payments and delivering tickets, while registration systems capture more detailed attendee information and manage the overall guest experience. For events requiring data beyond a ticket purchase, registration forms provide greater flexibility and control.