Tickets fast! Here's how to setup tickets fast for your event.

Need to start selling tickets fast? In just a few minutes, you’ll learn the exact steps to set up online ticketing, manage event budgeting, and create a great guest experience...without the stress.
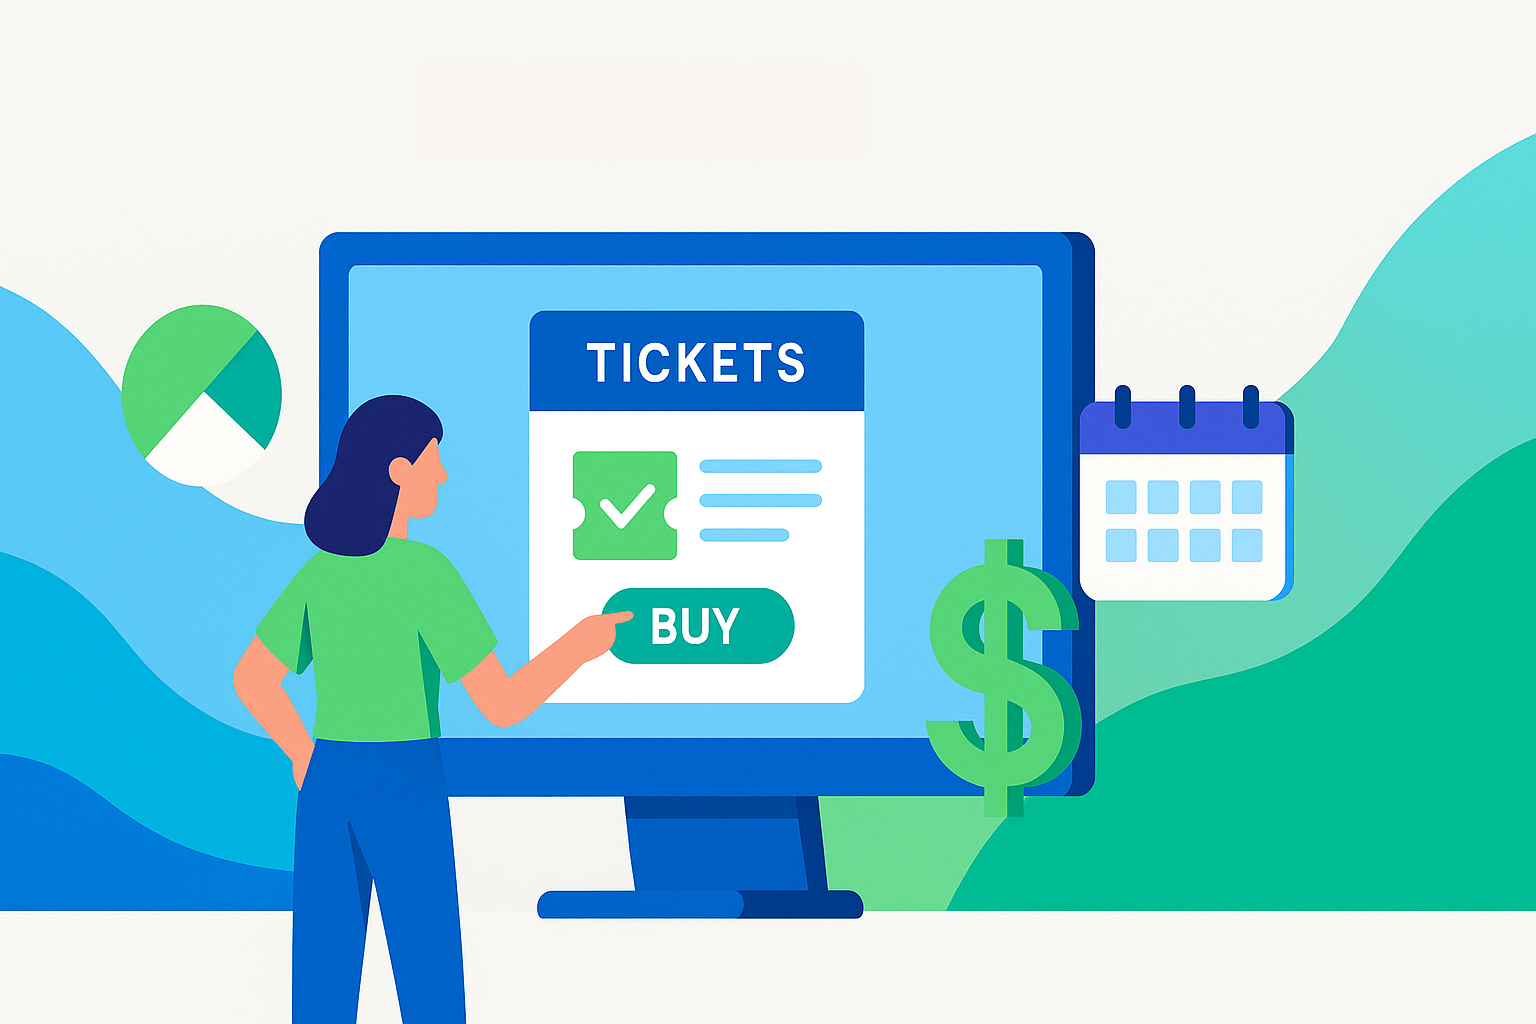
The Secret to Successful Ticket Sales
A bit of upfront preparation is the difference between ticketing chaos and smooth sailing. The steps below highlight important considerations and show you how the right event management tools can simplify your process.
Online Tickets: What to Expect
Selling online tickets should feel simple and rewarding for both you and your attendees.
- Fast setup: Launch tickets and accept payments in minutes, not hours.
- Seamless payments: With ClearEvent’s Stripe integration, payouts typically arrive in 2–5 business days, helping your cash flow.
- Smooth guest experience: Buyers expect a simple, mobile-friendly purchase process they can trust.
Unfortunately, not every system delivers this. That’s why preparation matters.
Step 1: Choose a Ticketing Platform That Works for You
A good ticket system should be flexible, reliable, mobile-ready, and backed by helpful support. It should adapt to your event needs, not the other way around.
ClearEvent enables organizers to set up tickets quickly, start selling right away, and collect payments securely. Plus, you can fully brand the ticketing experience so your attendees see your event, not someone else’s logo.
Pro tip: Test the ticketing experience on mobile before launch. A frustrating checkout is one of the fastest ways to lose sales.
Step 2: Define Ticket Types and Prices
Before diving into setup, map out ticket types, pricing, and sales goals on paper.
Examples of common ticket types include:
- Adult, Child, Senior, Family passes for community events
- Special rates for Veterans, First Responders, or Association Members
- Multi-day passes for festivals and conferences
Pricing Tickets
Think of ticket prices as more than a number, they represent the value of the guest experience. Consider:
- Covering event costs (venue, staff, marketing, equipment)
- Adding a margin for fundraising goals or profit targets
- Benchmarking against similar events in your market
Pro tip: If you’re uncertain about pricing for a first-time event, start with conservative estimates, test buyer response, and adjust for future editions.
Step 3: Forecast Ticket Sales and Revenue
This is where event budgeting and financial planning come into play. Your goal: ensure projected revenue covers all expenses while leaving room for profit or fundraising goals.
- Multiply ticket price × number of expected sales = gross revenue per ticket type.
- Add all ticket revenues + other sources (e.g., merch sales, food vendors).
- Compare your projected gross revenue with projected expenses.
If expenses outweigh revenue, revisit your expense tracking and ticket pricing before moving forward.
Pro tip: Run “what if” scenarios. What if ticket sales are 20% lower than expected? What if costs rise? Building flexibility into your financial plan prevents last-minute stress.
Step 4: Create Clear Terms & Conditions
Things happen...delays, cancellations, bad weather. Setting clear policies builds trust and protects your event.
At minimum, define:
- Refund and cancellation policies
- Ticket type labeling (Adult/Student/Senior, etc.)
- Customer support contact info
Make sure policies are visible on your website, order page, and tickets themselves.
Step 5: Set Up Your Tickets
Now it’s time to put your planning into action. With your ticket list and terms ready, setup is quick:
- Enter each ticket type into your system
- Add descriptions so buyers understand what they’re purchasing
- Configure availability (quantity caps, multi-day passes, discounts)
Pro tip: Keep ticket edits after launch minimal. Typo fixes and minor updates are fine, but major changes can confuse buyers and make check-in at the event difficult.
Step 6: Build Your Ticket Order Page
Your order page is where sales happen. Make it easy to find and simple to use.
- Link prominently from your event website and event portal
- Add “Get Tickets” buttons to your navigation and banners
- Share links across social media (LinkedIn, Instagram, Facebook)
- Leverage your event’s built-in web app in ClearEvent to combine ticketing, registration, and event details in one place
Step 7: Test Before You Launch
Hold on, don’t launch just yet! Switch to test mode and purchase tickets as if you were a guest. Check for:
- Typos or unclear instructions
- Correct ticket types and prices
- Visibility of terms and conditions
Ask a colleague to test as well, they’ll often catch things you missed.
Step 8: Go Live with Confidence
Once testing is complete:
- Confirm live mode is activated
- Double-check your purchase page loads properly
- Announce ticket sales to your team and partners
Step 9: Promote Your Tickets
Even the best ticketing tools need the right marketing strategy to succeed. Build a plan that gets your event noticed.
- Start early: Begin promotion weeks or months before your event.
- Leverage social media: Share updates consistently across platforms where your audience is active.
- Engage partners: Ask sponsors, vendors, and volunteers to share ticket links.
- Use CTAs everywhere: Every post, email, or webpage should point people directly to your ticket page.
Pro tip: Mix urgency (“Early Bird ends soon!”) with value (“Save 20% when you book your family pass”).
Step 10: Relax and Focus on the Experience
With ticketing streamlined, you can focus on delivering a memorable guest experience that keeps attendees coming back.
The real secret isn’t just speed, it’s smart preparation that saves you time, reduces stress, and sets your event up for success.
Ready to streamline ticketing for your next event? Start your free trial today and see how ClearEvent makes ticket sales, event budgeting, and guest experience management simple.
Frequently Asked Questions (FAQ)
How quickly can I set up online ticket sales for my event?
With the right ticketing platform, you can set up online tickets in under an hour once your pricing, event budgeting, and terms are clearly defined. The key is preparing your ticket types and financial planning details before you start entering them into the system. Preparation dramatically speeds up launch time.
How do I price event tickets without losing money?
Start by listing all projected expenses and building an event budgeting plan. Multiply your expected ticket sales by ticket price to estimate revenue, then compare that to your projected costs. Running “what if” scenarios helps protect your profit margin and reduces financial risk.
What should I include in my event ticket terms and conditions?
At a minimum, include your refund policy, cancellation terms, ticket type details, and contact information for support. Clear policies protect both you and your attendees, and they improve the overall guest experience by setting expectations upfront.
How can I improve the guest experience during ticket purchase?
Make the checkout process mobile-friendly, clearly branded, and easy to understand. Provide simple instructions, visible pricing, and easy access to policies. A smooth ticket purchase builds trust and sets the tone for a positive event experience.
How do I promote my event tickets effectively?
A strong marketing strategy combines early promotion, consistent social media updates, partner sharing, and clear calls to action. Link directly to your ticket page in every email, post, and website banner. The easier you make it for people to buy, the more likely they are to complete their purchase.